Introduction:
You can find couple of points much more unexciting than a basic, bright white interior. If you’re seeking to add a little fashion and personality for your vehicle’s interior, take a look at colourful LED lights. Here’s everything you should know about including Directed lights in your car’s interior.
What You’ll Require
Incorporating Guided lights in your vehicle’s interior is a pretty easy process. To accomplish it, you’ll want the following components:
A roll of twice-sided tape
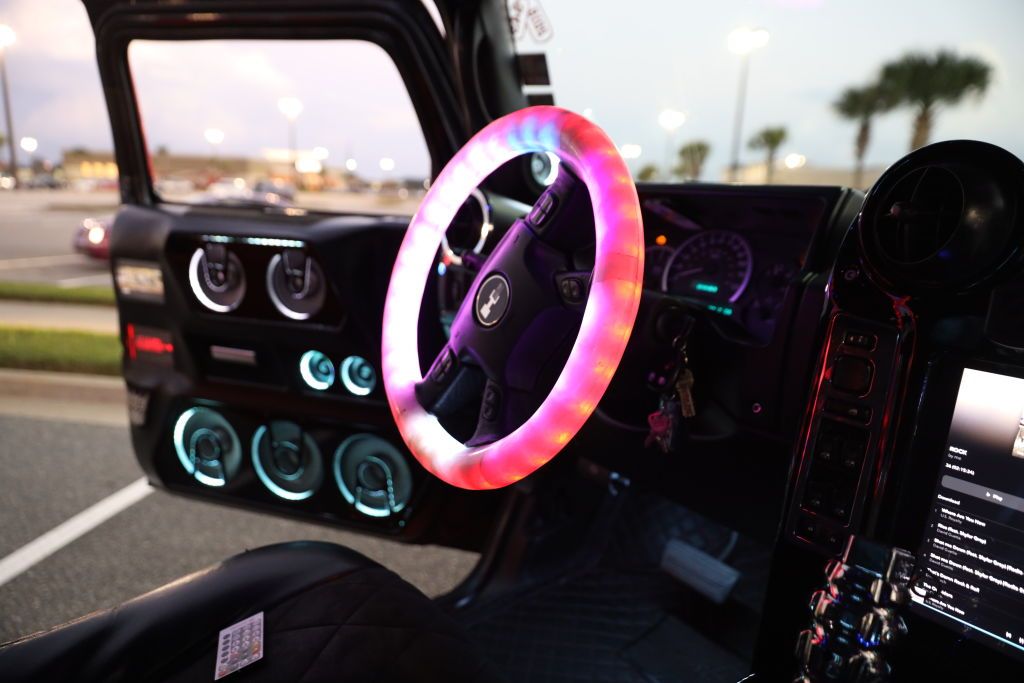
A pair of Directed lights (We suggest using a colour that words of flattery your car’s external surfaces fresh paint task.)
Wire cutters (In case your Directed lights don’t come with their built-in wire cutters.)
Recommendations
1. Begin with washing the area exactly where you’ll be applying the double-sided tape. This helps ensure that the adhesive tape stays effectively.
2. When the area is clear, apply the twice-sided adhesive tape to the rear of the Directed car lights strip.
3. Carefully peel off the other aspect of the adhesive tape and stay the light strip in position.
4. Recurring steps 2-4 until you’ve included as much Brought light strips as you would like.
5. As soon as every one of the light strips are in location, utilize the wire cutters to snip off any unwanted cable.
6. That’s it! You’re now accomplished adding vibrant LED lights to your vehicle’s interior!
7. Appreciate your brand new, elegant journey!
Summary:
There you have it! This a simple help guide adding some very much-needed style and color to your vehicle’s interior. Now get out there and make the drive look as good on the inside because it does on the outside!